Everyday Heirlooms
By Memor & Rachel Saunders


Tips for a Joyful and Relaxed Clay-Making Experience
-
Embrace imperfections: Handmade pieces are meant to have character. Little cracks, uneven edges, or unexpected textures are what make your piece unique and full of charm.
Think of this process as an experiment, not a final product. The joy is in creating, not in achieving perfection.
If something doesn’t go as planned, ask yourself: “How can I incorporate this ‘mistake’ into my design?” Often, these surprises lead to the most creative results.
-
Treat this as a chance to slow down and connect with your creativity. There’s no rush—clay takes time to shape, dry, and transform.
Take breaks as needed and step back to admire your progress. Celebrate small wins, like achieving a smooth surface or attaching a tricky piece.
Approach this as play. Imagine you’re rediscovering the joy of making with your hands, like you did as a kid.
-
Create an inspiring environment:
Play your favorite calming music or a podcast you love.
Light a candle or diffuse essential oils to set a relaxing mood.
Have a cup of tea or water nearby to stay hydrated and grounded.
Work in a space where you feel comfortable and focused—whether it’s a sunlit corner of your home, a cozy table, or even outside in nature.
Keep your tools, materials, and workspace organized so you can fully enjoy the creative flow without distractions.
-
Once your piece is finished, take a moment to appreciate your effort and creativity. Whether it’s perfect or not, it’s something you brought to life with your own hands.
Remember: the true value of this experience lies in the joy of making, not just in the finished piece.

Crafting Your Heirloom
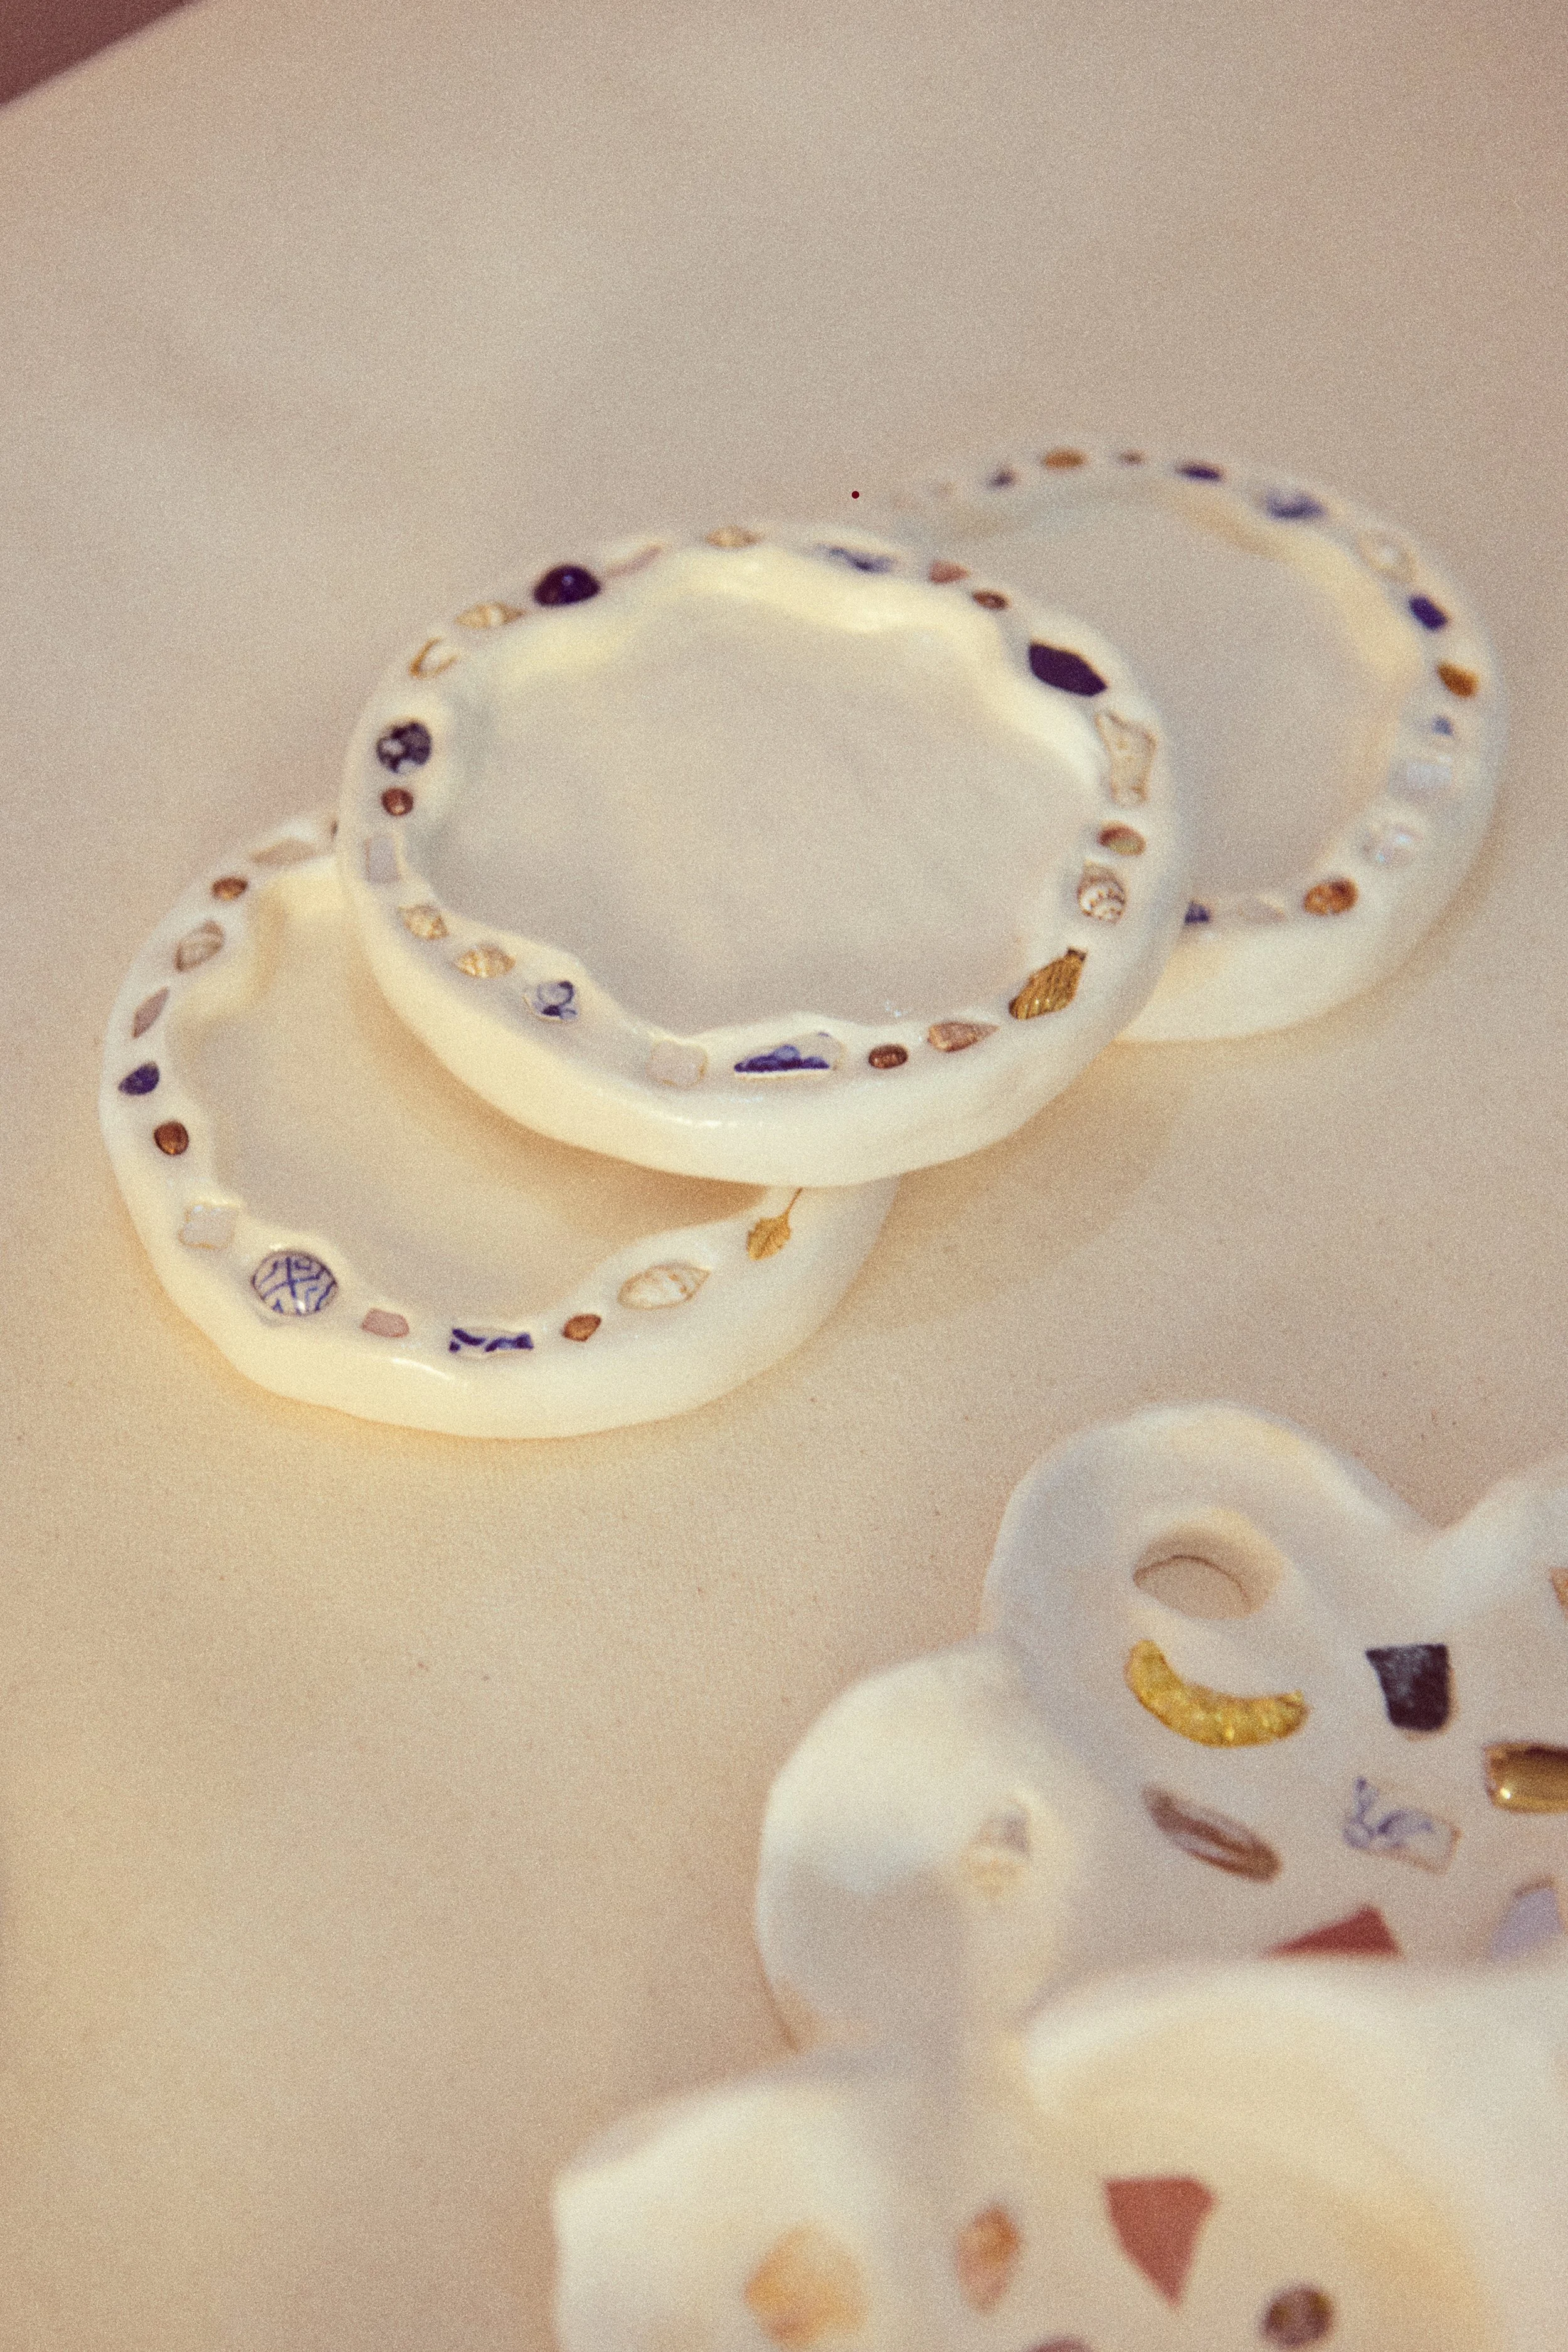
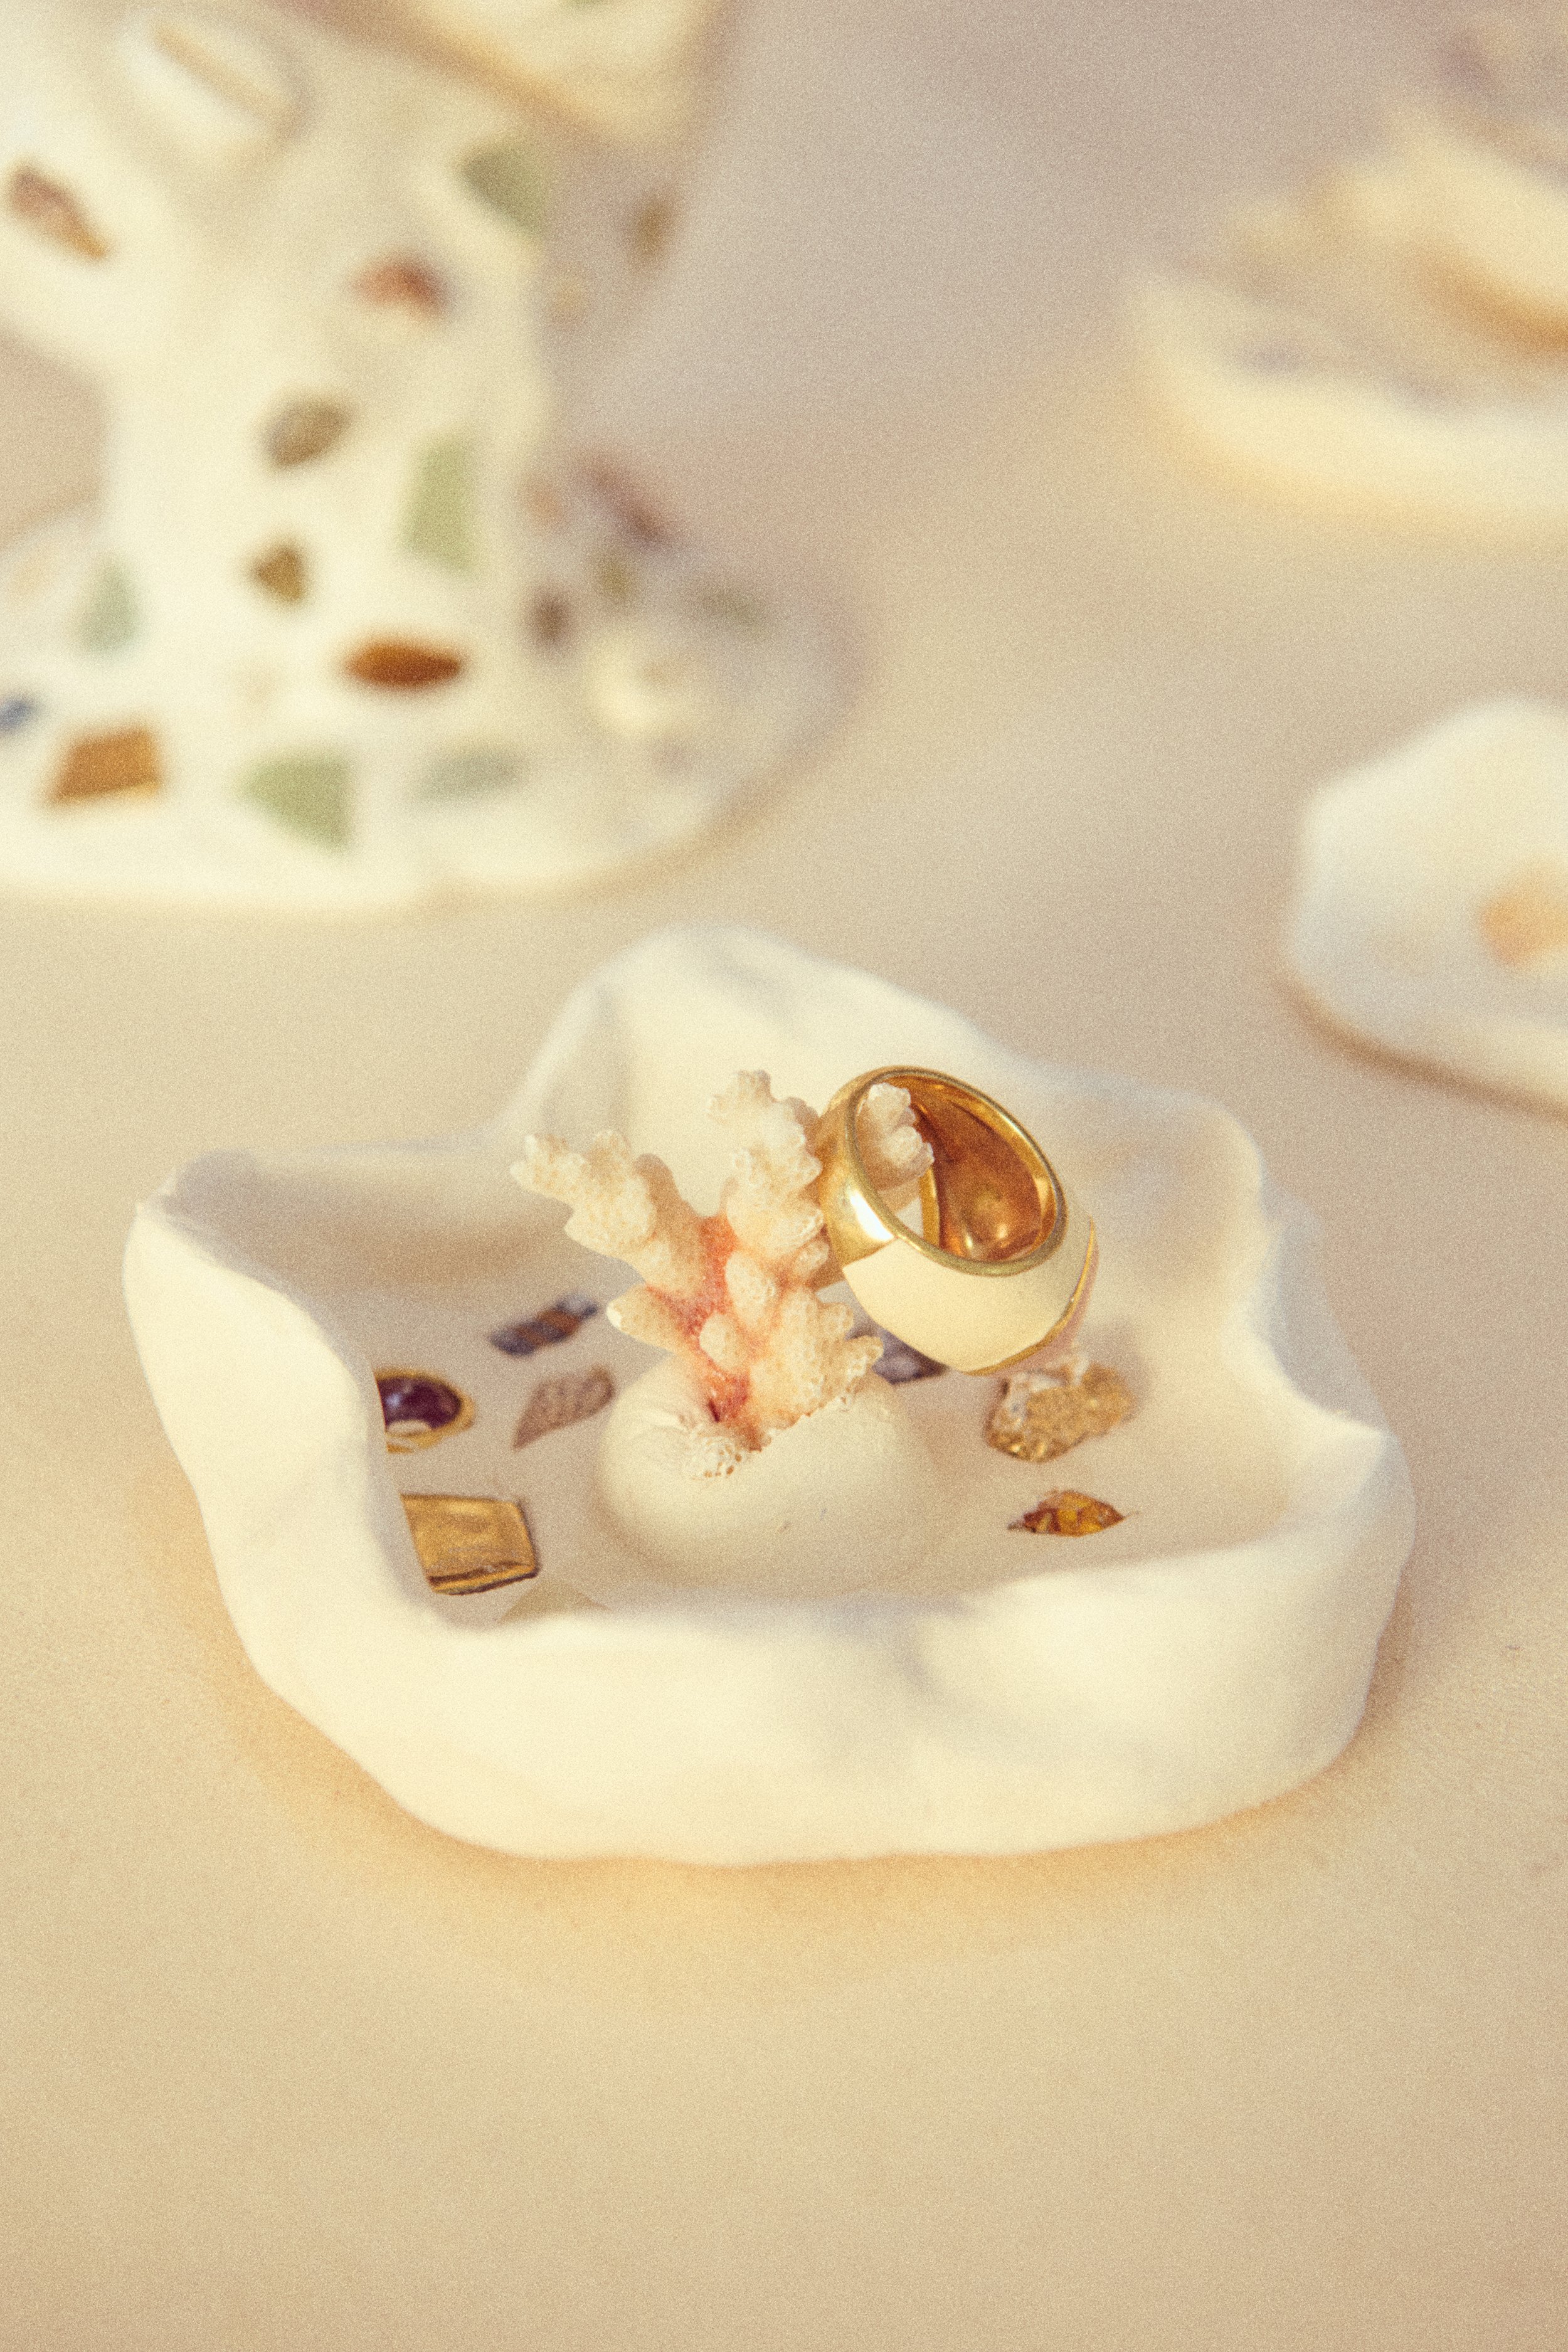
This box brings you the experience of playfully crafting your own mosaic heirloom. Using your hands, air dry clay, objects around your space, and provided tools, you will be immersed in the healing powers of clay and the joy of breathing new life into past treasures.
-
Wedge the clay thoroughly before starting. Wedging is similar to kneading dough—it warms the clay, evens out its texture, and prevents cracking.
Work on a flat, moisture-resistant surface like a silicone mat, wax paper, or a thick piece of paper that can be peeled off easily.
Prepare a small cup of slip (a liquid mixture of clay and water) to act as glue for joining pieces or repairing cracks. Mix a grape-sized ball of clay with about 1 oz of water until it forms a smooth, creamy consistency.
-
Plan your design before starting. A rough sketch or mental image will help guide your sculpting process.
Keep the thickness of your piece between 1/4” and 1/2”:
At least 1/4” thick for supporting mosaic pieces
No more than 1/2” thick for even and efficient drying.
-
Lift your piece periodically as you sculpt to prevent it from sticking to the work surface.
Smooth your surface before applying mosaics. Use minimal water on your tools or fingers to avoid over-saturating the clay, which can weaken it and lead to cracking.
Avoid overworking the clay, as it can lose structure or dry out unevenly.
Wash your hands or tools if they become flaky to avoid reintroducing dried clay into your piece.
-
Press mosaic pieces firmly into the clay. Compress the clay around them to ensure they are securely “buried” and won’t pop out as the piece dries.
After adding mosaics, resmooth the clay, especially along edges and the bottom, for a polished look.
To attach two pieces of clay (e.g., handles or decorative elements): use the score and slip method:
Lightly score (scratch) both surfaces where the pieces will meet.
Apply slip to the scored areas and press the pieces together firmly.
-
Before letting the piece dry, ensure it lifts easily from the work surface
Your piece is fully dry when:
It lightens to an almost white color.
It no longer feels cool to the touch.
Drying tips:
Avoid placing your piece in direct sunlight or near a heat source, as this can cause cracking.
Rotate the piece or flip it upside down after the first day to promote even drying.
Drying time may vary from 1–5 days depending on thickness, temperature, and humidity.
-
If clay is still moist:
Lightly smooth cracks with tools or fingers.
Use slip to fill larger cracks or add fresh clay to reinforce weak areas.
If clay is fully dry:
Fill in cracks with slip, allow it to dry, and smooth gently.
-
Let the piece dry completely before applying a sealant. A cold surface indicates it is still wet.
Apply sealant evenly to the surface. Smooth out any excess or globs, and let it dry for at least 24 hours. A second coat may be applied if necessary.
Storage tip: Use the plastic bag the clay came in to store unused clay. Ensure the bag is airtight to prevent drying, and add a damp paper towel if needed to maintain moisture.
-
These pieces will not be food-safe: Do not use the finished piece for food or drink.
Handle your piece with care. Since it is air-dried and not fired, it is more delicate than kiln-fired ceramics.
-
coasters
dried floral bud vase
desk organizer
wall hanging
jewelry dish
incense holder
tray for keys or trinkets
fridge magnets
picture frame
candle holder
cabinet knobs
light switch plate cover
drawer pulls or cabinet knobs
ornaments